
Setting up your axolotl tank can feel like piecing together a delicate puzzle. Every detail matters, and none more so than the substrate you choose.
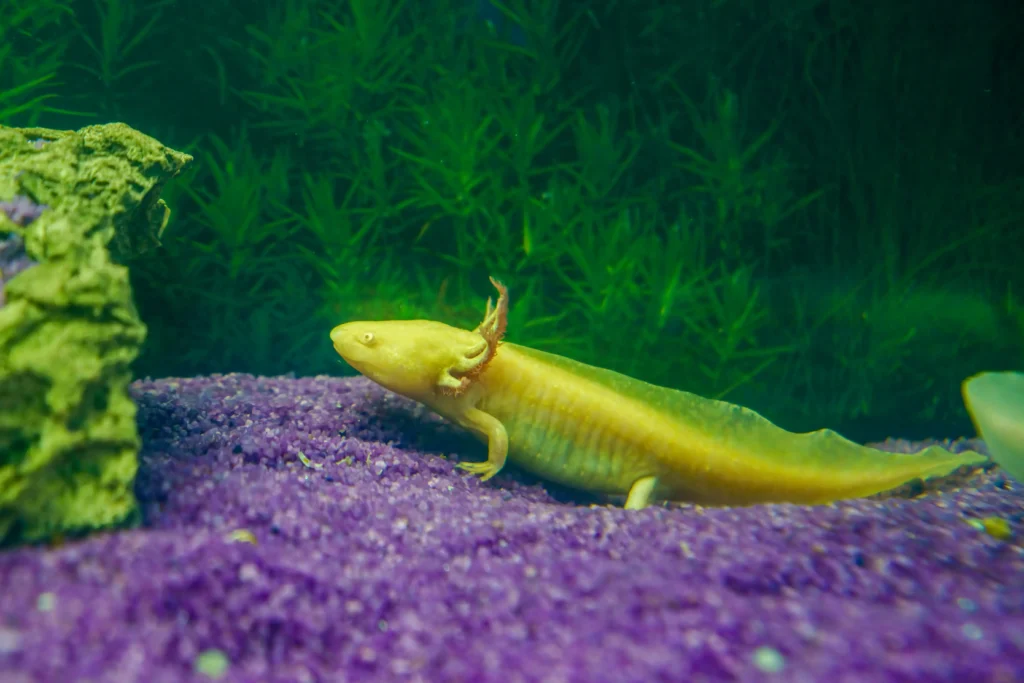
The wrong material can cause stress, impaction, and health issues in axolotls. I learned this the hard way when I first brought Lucy home: she spent her initial days in a simple plastic tub with an Indian almond leaf.
As I planned her permanent tank, I faced a maze of options: gravel, fine sand, bare-bottom, even smooth tiles. I wanted something safe yet aesthetic.
If you’re on same boat, let me walk you through everything I discovered about axolotl-friendly substrates. I’ll share the pros and cons of each choice, and give you practical tips to create a safe, healthy, and low-maintenance environment that your axolotl will love.
Table of Contents
Why Substrate Matters for Your Axolotl?
The role of substrate in an axolotl tank is beyond aesthetics. The right choice is a must for traction and preventing impaction. Axolotl needs something to grip as they walk around.
Also, axolotls are suction feeders. They feed on food while ingesting everything in their vicinity. Mistakenly, or maybe they have an urge to eat, you will always witness them ingesting some substrate, such as sand, gravel, or stones, if they are small enough to fit in their mouth.
Ingesting fine sand will cause no issue, as it can be passed out or expelled after eating. However, with large stones, coarse sand, or gravel, the problem worsens and can lead to intestinal blockage. So, substrate decision is crucial for the health of axolotls.
You can also maintain the aesthetics of the water tank while prioritising axolotl safety. There are multiple safe substrate options that I will recommend, and you will also learn what to avoid while still achieving a visually appealing tank.
What are the Safest Substrates for Axolotl Tanks?
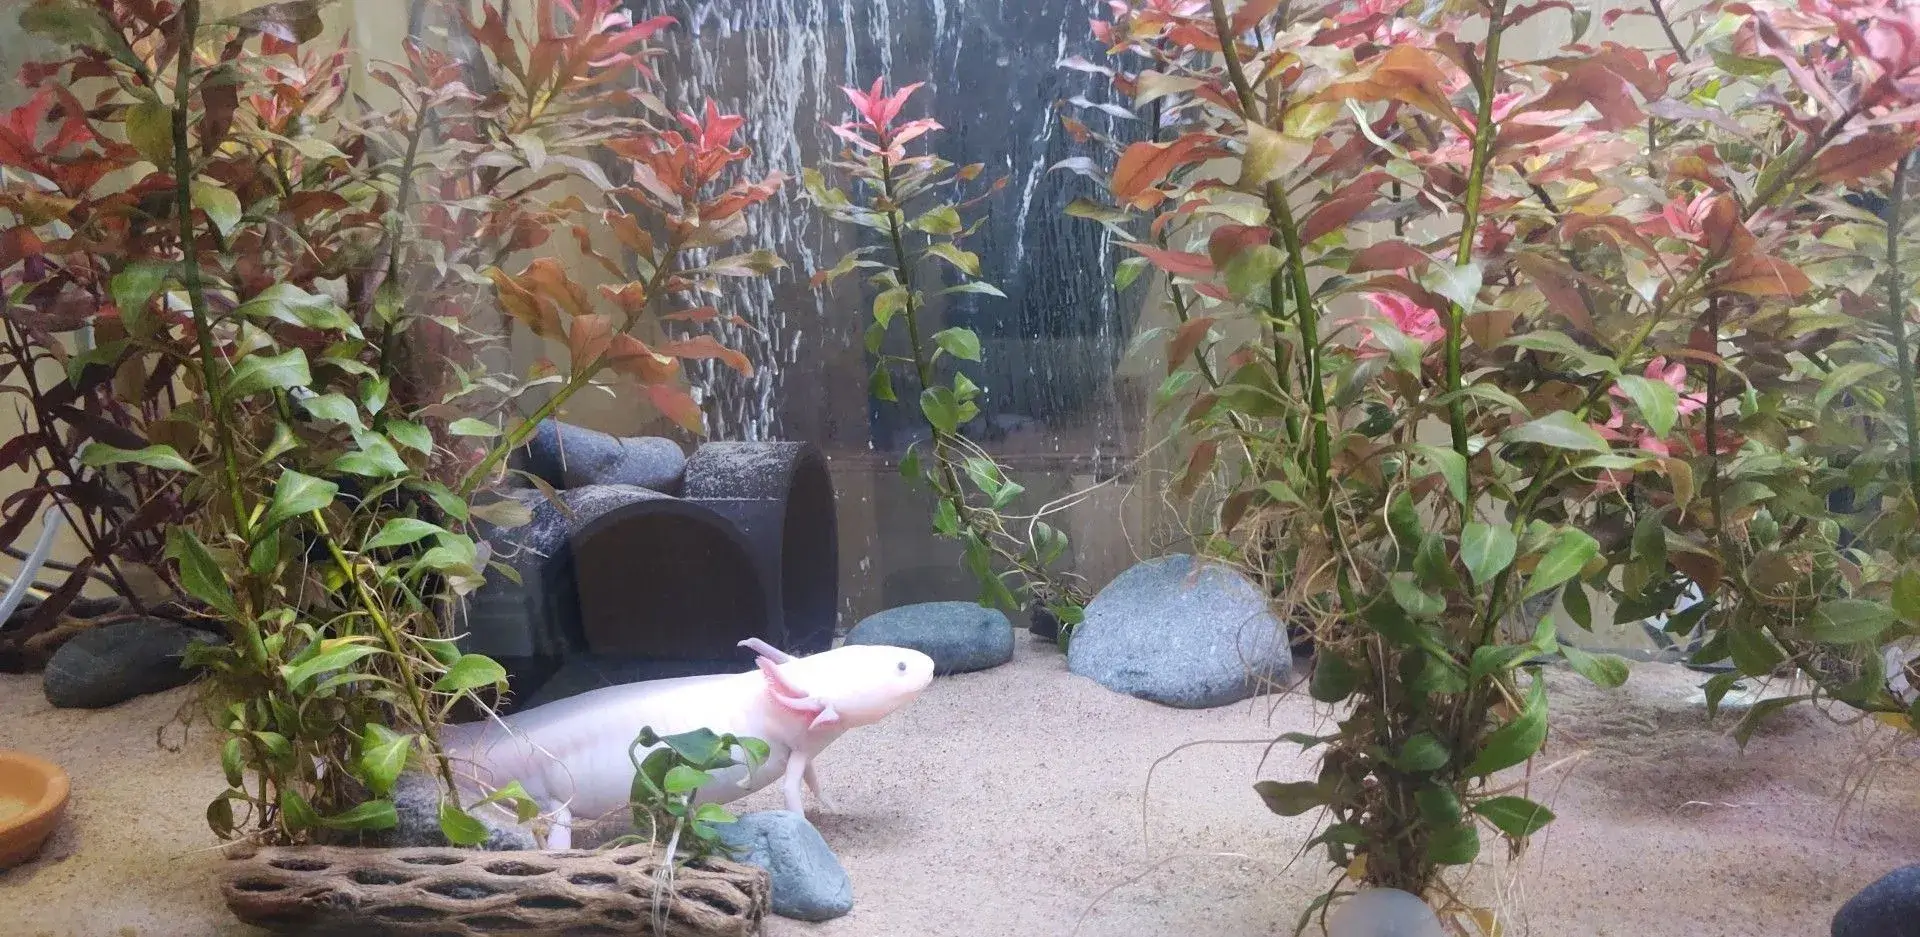
Before starting, note that a bare-bottom tank is recommended for juvenile axolotls. However, I noticed that Lucy needed something to grip onto while walking around the tank. She does more walking than swimming. So, I recommend using some substrate at your convenience.
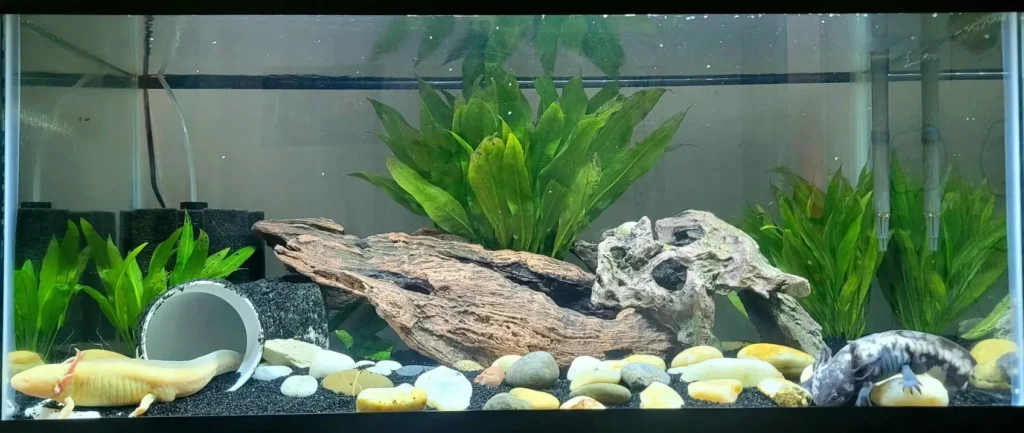
1. Fine Sand (Play Sand or Aquarium Sand): My Go-To Safe Choice
Fine sand is the safest and my preferred option for axolotl water tanks, and many people find it easy to use. If you are growing fish or another aquarium pet, sand is often used in water tanks. If you want to add live plants to tanks, then sand is a better option.
But what is safe sand? Safe sand is a very soft sand with a grain size of less than 1 millimeter. The individual particles of fine sand are too small to see apart. Whereas, grain size larger than 2mm is considered as gravel. Gravel can be ingested and lead to impaction in the axolotl.
Generally, it is best to avoid adding sand to the axolotl water tank if the animal is juvenile or very small, as these babies’ bodies are still in a developmental stage.
However, you can use fine sand for axolotls over 15cm (6 inches) long. The adult axolotl can easily pass out the sand if it mistakenly gulps some sand with the food. Although axolotls cannot digest sand, it won’t lead to impaction issues either.
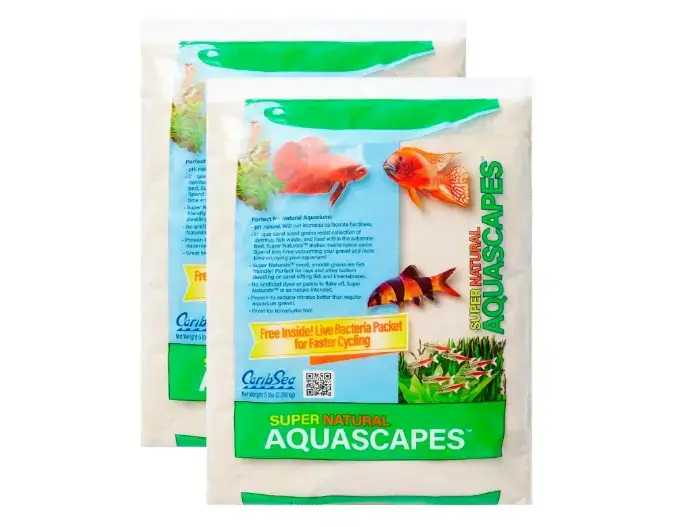
I like Carib Sea Super Naturals Sand because it fulfills all the requirements needed for an axolotl water tank. A darker substrate would be better, but for now, I want to use Super Naturals. Talking about its texture, it is very soft, so it doesn’t scrape the axolotl’s delicate skin.
The particles are extremely fine, which eliminates the risk of digestive blockage. There are no artificial ingredients in the sand, but some beneficial microbes are present.
Some axolotls occasionally dig in the soil. Therefore, having a fine layer of sand will also fulfill their urge.
Axolotls can open their mouth so wide, and trust me, even if the rock or pebbles are the same size as their head, they can easily swallow those smooth stones.
As a precautionary measure, I always sift the sand mix before putting it in the water tank. I use a fine sieve to sift every single speck of sand mix, ensuring that only particles that pass through are less than 2mm. Even a particle size of 3-4mm across can cause obstruction, so be vigilant.
- It’s safe to use for adult axolotls that reach a size of 6 inches. Avoid it for juveniles, and keep the bottom bare for them.
- Easy to clean the tank with proper siphoning techniques. You can use a gravel vacuum or siphon to gently remove the debris above the surface without disturbing the sand.
- Fine sand is inexpensive and easily available.
- A fine layer of sand in the water gives a more natural environment for the axolotl.
- Water tanks can become cloudy if disturbed, especially during the initial setup or when the axolotl exhibits aggressive movement. To get the water clear, use a good filter and keep it running. I know it’s no joy to keep it running, but it’ll clear up in less than 24 hours.
- If your sand bed is deep, there is a chance of air pockets forming between them, which later fill with toxic gases or excessive bacterial growth.
Setting up Fine Sand Substrate
The optimal thickness of sand in the water tank is 3 cm (1.2 inches). A deep bed of sand may facilitate the formation of black sludge, which increases the risk of infection to the axolotl.
You should put sand first in the tank before filling it with water. Some people place a plastic bag on top of the layer before pouring water into the tank. You can use any method of your liking to minimize clouding during setup.
- After placement, let it sit for an hour, then pour off debris and dirty water from the top.
- Then cycle your aquarium. I’ve created a simple guide for it, so do check it out.
- You can also use a filter pump to ensure proper removal of fine particles.
Maintain Fine Sand Substrate
Siphoning techniques or gravel vacuuming are widely followed for effective cleaning in the fine sand. How often is cleaning done solely based on how much mess your axolotl is creating. Invest in a canister or sponge filter, and you can also use a turkey baster to spot clean the waste (excreta) and uneaten food.
Substrate and Water Chemistry
Fine sand does not directly affect the pH, but the accumulation of waste and debris in water tanks does. Most commercially available reptile sands are made of Calcium Carbonate, which must be avoided due to their tendency to change pH and hardness. Similarly, marine sand is also unsuitable for axolotls due to its high levels of crushed coral and sea salt.
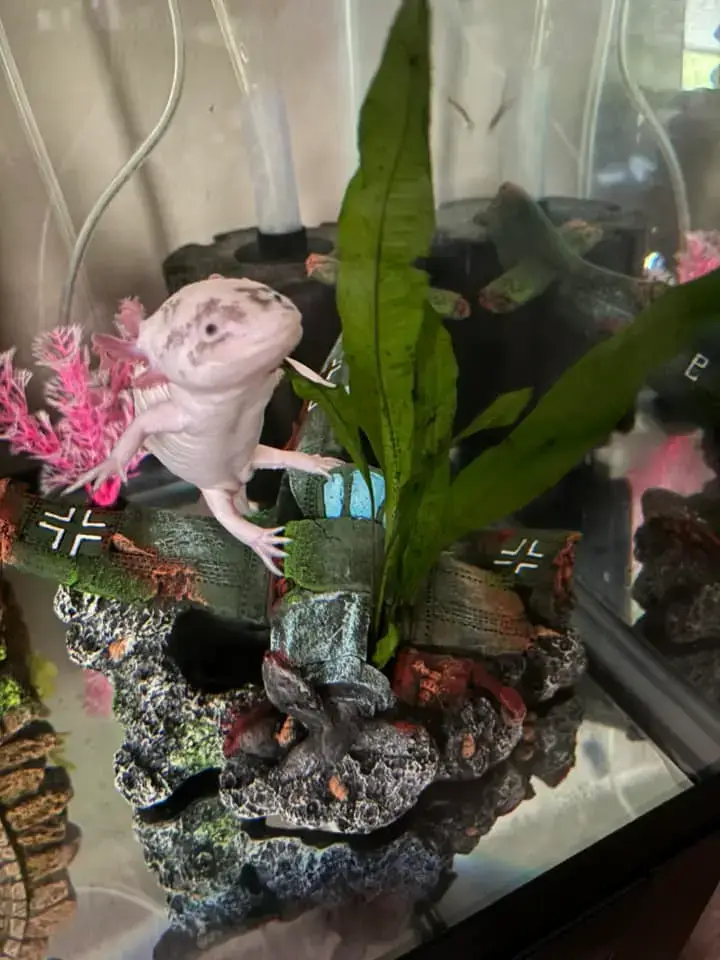
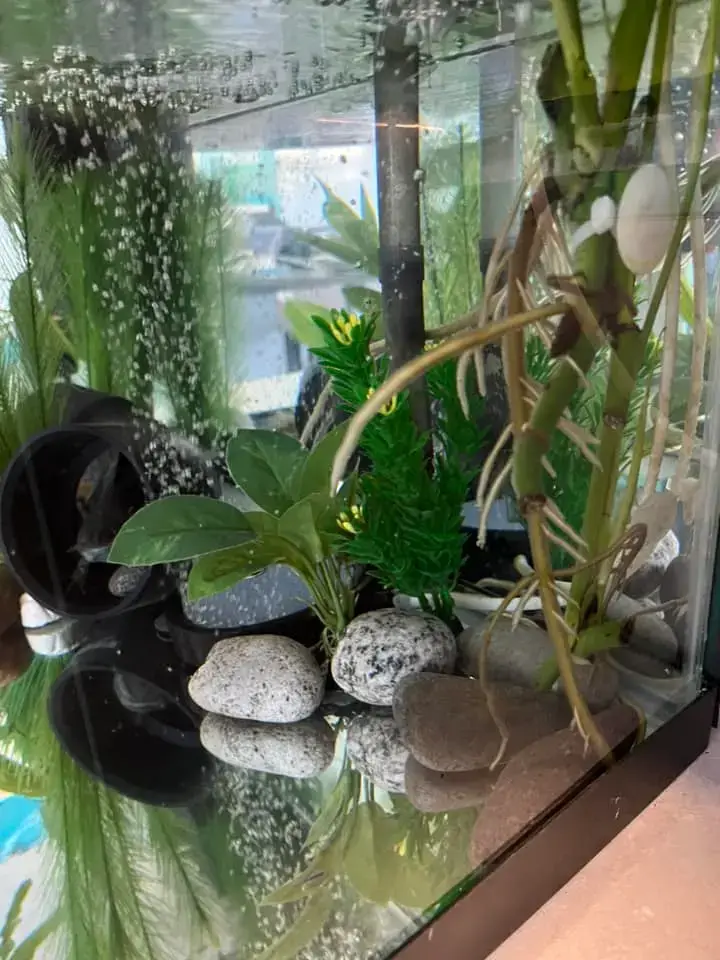
2. Large, Smooth Stones (Pebbles or River Rocks)
Another great substrate option is large, smooth stones. The stones should be larger than the axolotl’s entire head so that when they open their mouth, they can’t swallow it. An ideal stone size is approximately the circumference of your wrist.
These stones look appealing and aesthetically pleasing. Moreover, axolotls love to lie on them. Large smooth stones look natural when used in layers along with other substrates and also protect the plant from being uprooted.
One thing to be cautious of when purchasing large smooth stones is that they often come in mixed sizes when purchased in bulk. So you must sort them out before placing them in the water tank. Additionally, consider the axolotl’s color before purchasing stones or rocks, as they may camouflage in the water tank, playing hide and seek, and you’ll keep wondering where they went.
Different types of stones, such as river rocks and beach pebbles, are readily available in pet stores, home improvement stores, and online. Check the rocks are suitable for aquarium use. They must be smooth, inert, and have a fine surface, be large, and not be coated in artificial dyes.
- Large stones are safe, as they are too large to be ingested by adult axolotls.
- The polished river stones are visually appealing and can create a more naturalistic aquascape for the axolotl.
- Easy to clean around and between stones.
- Can provide enrichment and hiding spots when arranged thoughtfully.
- They can sometimes be tough to clean, as debris can get trapped between them.
- Some rocks may collect algae, which is very hard to clean out. You may need to remove each rock and thoroughly clean them. It will also affect your tank parameters.
- If you cover the entire water tank with large rocks, then full coverage can be costly. High-quality rocks and stones are expensive.
Although any type of substrate is not recommended for very small axolotls or juveniles. But full coverage, large stones must be avoided due to potential gaps and entrapment risk.
Maintenance of Large Stones
Instead of full stone coverage, place flat stones on only half of the tank. This will help you to achieve a cool stone look, as well as cleaning will be way easier because half of the space is bare.
Check that the stones are thoroughly cleaned before placement. Scrub them in water just to be germ-free. Also, soak them in water for a week just to check their quality. Make sure the surface is smooth, otherwise it will scrape off the axolotl’s skin.
Maintaining cleanliness around the full coverage stones is tricky. Therefore, lift stones periodically and siphon around to clean the buildup of debris.
3. Bare Bottom Tank (No Substrate)
A substrate is not compulsory for keeping an axolotl, and you can skip it, allowing the bottom to be bare. The advantage of a bare bottom is that the chances of impaction are zero.
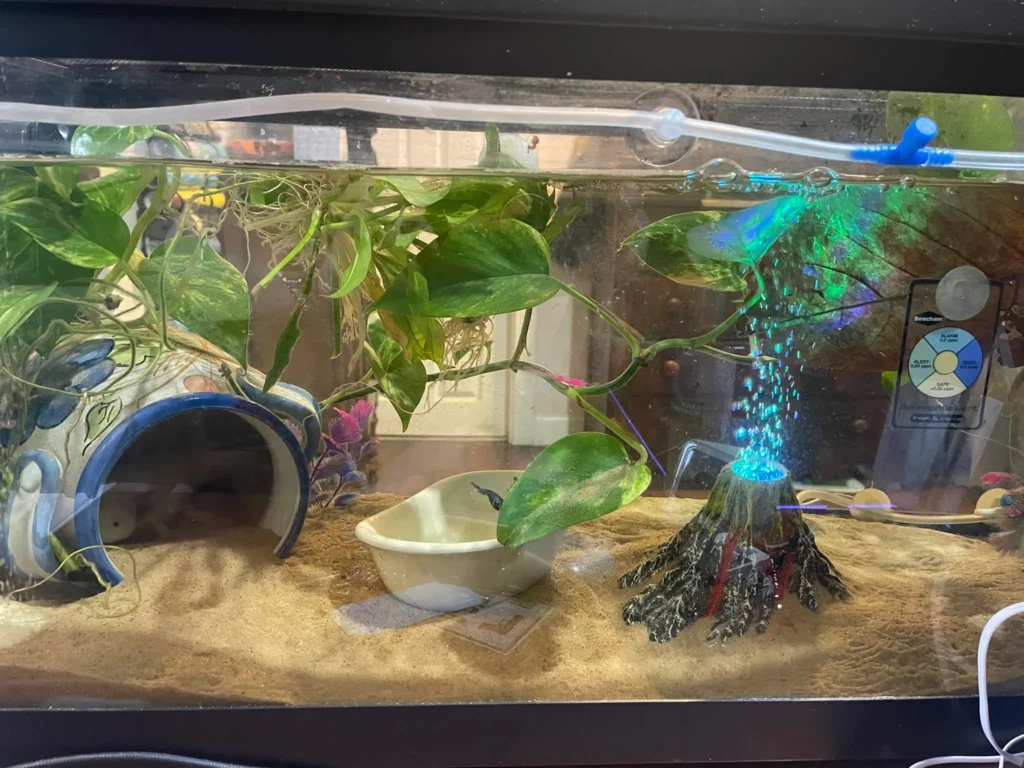
A bare bottom is low maintenance and helps regulate water quality. It’s easy to keep the water tank clean, as everything is transparent, allowing you to see all the mess the axolotl can make and clean it right away. Any uneaten food particles or live food that gets lost in the substrate can be easily spotted in a bare-bottom tank. Moreover, eggs can be collected with minimal effort after deposition. It’s an ideal choice for individuals who lack the time for regular maintenance.
One thing I dislike about keeping the bare bottom is that the glass is very slippery, so the axolotl can’t have anything to grip onto. Axolotls love climbing, and bare-bottom tanks may stress them out as they are unable to grip onto anything.
Also, substrates such as stones or sand offer a large surface area for beneficial bacteria to grow in the tank. These convert ammonia into nitrates. Without a substrate, the filter must work harder to maintain water quality. Over time, a layer of algae may form at the bottom of the tank.
A bare bottom is the recommended choice for juvenile axolotls, as it eliminates the risk of impaction. However, a transparent glass tank may not be visually pleasing to people who appreciate aesthetics, although it can be decorated with artificial plants and accessories. Furthermore, you can also paint the underside of the tank for aesthetics.
- Safe for juveniles and no impaction in adults.
- Easy to clean and maintain
- Ideal for quarantine tanks or medicating axolotls.
- Most cost-effective option (no substrate cost).
- Not aesthetically pleasing.
- Difficult to place plants in a bare tank.
- Some axolotls may feel stressed when there is no substrate to grip onto.
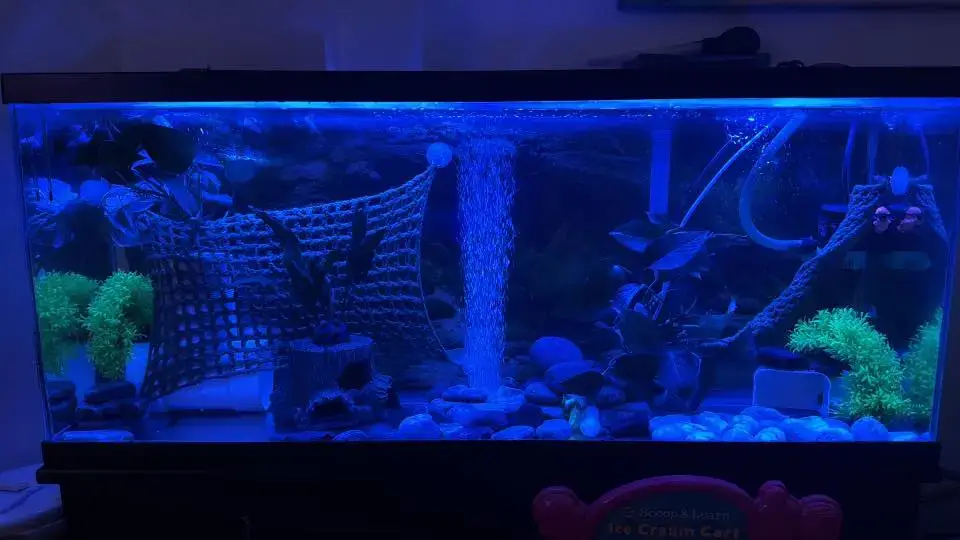
Transparent water tank reflects light more intensely, potentially causing stress for light-sensitive axolotls. (You can consider lower lighting with bare bottom.)
Setting up a Bare Bottom Tank
The setup is simple: the tank should have a proper filtration system before adding the axolotl. You can add decorations, hides, and plants for enrichment and visual appeal, even without substrate. The axolotl will do fine as long as the water flow is not too strong.
How to Maintain it?
Axolotls are a little messy creatures with their heavy bioload, so you need to perform frequent water tank cleanings. It requires daily spot cleaning with a turkey baster, weekly water changes, and wiping down the bottom as needed. Ensure your water tank has adequate filtration to avoid ammonia spikes and maintain water quality.
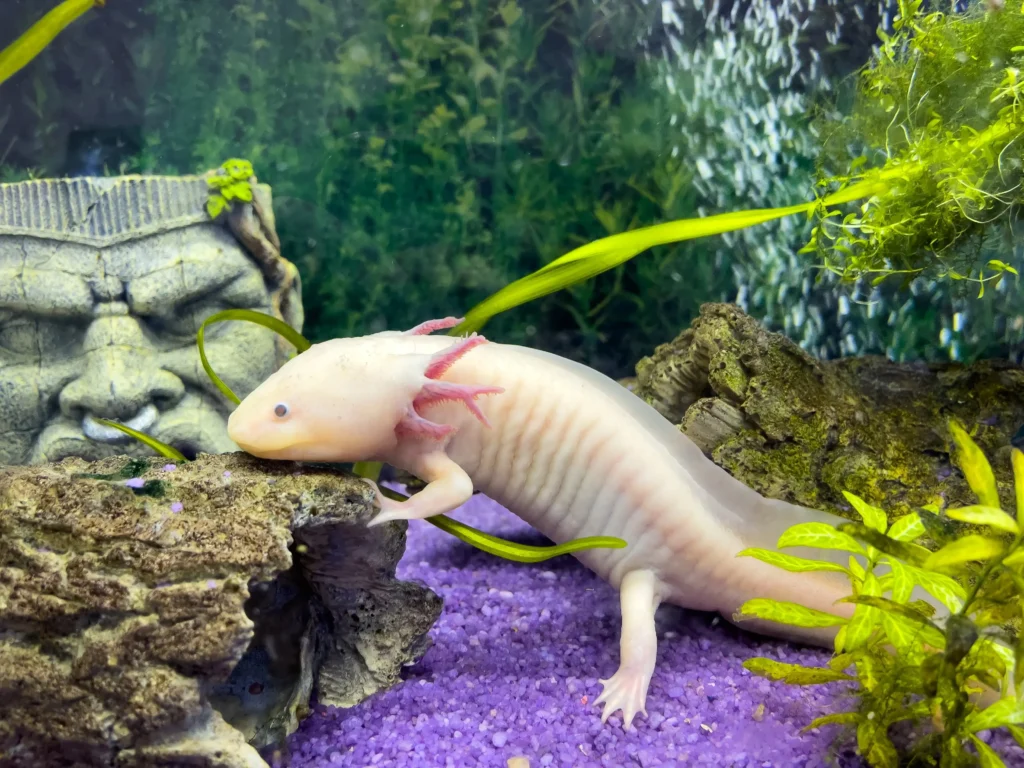
4. Slate Tiles or Glass Bottom
Another great substrate option for an axolotl tank is slate tiles or a glass bottom. Well, not all types of tiles are suitable for the water tank, especially vinyl. There are plenty of options, like ceramic or rock, readily available at any hardware store. You can use kitchen backsplash tiles that come in 1-foot square sheets, or you can customise them.
The first advantage of using slate tile is that it looks nice; it comes in different styles, patterns, colors, and textures. You can combine different substrates, such as sand, rocks, and smooth stones, on top of the tile. A flat tile at the surface of the tank is easy to clean, just like a bare-bottom tank. But a tile provides a better grip for the axolotl.
You can either arrange them neatly or glue them permanently. Choose aquarium-safe silicone for the tiles or materials that need to be glued to the glass. Seal it properly so that debris or food does not get caught under the tile.
If you are fond of growing plants in a water tank, then tiles can’t support it. You can individually pot the plant and put it in the tank. Avoid the tiles that are super smooth and slippery. At the same time, make sure the tiles do not have any sharp edges. Smooth the edges with a rotary tool, such as a Dremel. Some tiles, such as vinyl, may leach toxins into the water; so, it is essential to identify the material before purchasing.
Another thing you must consider is not to put too much weight on the water tank. I have come across a few cases where they overdo the substrate and end up cracking the tank. Though it depends on the quality of the tank, it’s better to know about every possibility, just to be on the safe side.
- Slate tile is a safe and inert material, so no impaction risk.
- Quick to clean and maintain
- Smooth surfaces provide a good grip for the axolotl.
- You can arrange them in creative ways for a distinctive aesthetic vibe.
- Provides a solid, even surface.
- Paired with multiple substrates, i.e., sand, stones.
- Setting up is a bit of hard work at the start, but it’s worth it in the long term.
- Selecting appropriate material is tricky (don’t use vinyl).
- Live food may be stuck underneath the tile.
- Polished or dyed tile may leach toxins into the water tank.
Also Read: Beginner’s Guide to Axolotl Care
Substrates to Absolutely Avoid for Axolotl Tanks
Let’s discuss a few substrates that you should avoid in an axolotl tank. And why you should avoid it is obvious. You don’t want to lose your axolotl, right?
Axolotls are suction feeders, and they can inadvertently consume everything around them, which can lead to choking hazards and impaction. There are multiple reported cases of impaction and death on different forums. Not everyone can afford expensive surgeries, so it’s better to use axolotl-safe substrate.
1. Small Gravel and Aquarium Gravel
The first one is gravel. Any type of aquarium gravel is harmful for axolotl, as it’s small enough to get ingested, but axolotl cannot pass it out. Gravel is a rock product with a diameter ranging from 2 mm to 6mm for aquarium use.
A common myth is that gravel dissolves in the body over time. However, it accumulates in the intestine, causing severe constipation. Unfortunately, it cannot be detected by post-mortem necropsy. Ultimately, the problem will not be diagnosed in time, resulting in the axolotl’s death.
2. Sharp or Rough Substrates
Axolotls have protective slimy coats that act as a shield from infections and pathogens. A rough or sharp substrate, such as coarse sand or gravel, crushed coral, beach sand, lava rocks, sharp tile, or stones, can damage the axolotl’s delicate skin and gills. It will make them more prone to infections and cause stress. Moreover, you should also avoid sharp-edged decorations in the axolotl tank.
3. Black Sand and Coloured Sand
Coloured sand used in glass bottles is not recommended due to potential risks associated with coloured dyes. These dyes will dissolve in the water, making it cloudy. Any type of black sand is also harmful to axolotls.
Black sand contains quartz, even though it appears very fine and smooth. However, it has very sharp, tiny splinters that are hazardous to axolotls. Moreover, it has been reported that when people wave magnets over black sand, small metal pieces are picked up, and metal rusts when placed in water. To date, there is no black sand that is safe for axolotls.
4. Pebbles and Small Rocks
Small rocks and pebbles are used for decorative purposes in aquariums and axolotl water tanks. However, considering their size, these are not safe to put in the water tank. The axolotl’s mouth can be opened so wide that anything around the size of their head can fit in their mouth.
Therefore, if you want to decorate the water tank, then go for larger rocks that are bigger than the axolotl head. There is multiple X-ray evidence on different forums showing how people lost their axolotl due to impaction.
5. Plastic and Glass Beads
Another bad option is glass and plastic beads. These are glossy and colourful, so people like to use them in the water tank, but you need to avoid them for the same reason you avoid small stones.
6. Substrates that Alter Water Chemistry
Various substrates used in water tanks can influence water chemistry. It can be indirectly related to pH, carbonate hardness (KH), nutrient level, presence of bacteria, as well as the nitrogen cycle.
Cautionary Note: Substrates like marine sand, aragonite made from crushed corals, consist of high levels of CaCO3 and sea salt. It can raise pH and hardness. Therefore, it must be avoided.
Inert substrates such as fine sand provide a large surface area for beneficial bacteria, which are essential for converting ammonia into nitrates. Maintain good water circulation and occasionally stir the substrate to avoid gas build-up.
Water Testing Kits: After introducing any substrate into the water tank, ensure that the water is cycled correctly and the parameters are stable. The ammonia levels are zero, with low nitrate levels (less than 20 PPM). I recommend using reliable water testing kits and regularly monitoring water parameters. Check for ammonia, nitrite, and nitrate levels after introducing substrate and axolotl into the water tank. Read the detailed cycling guide here.
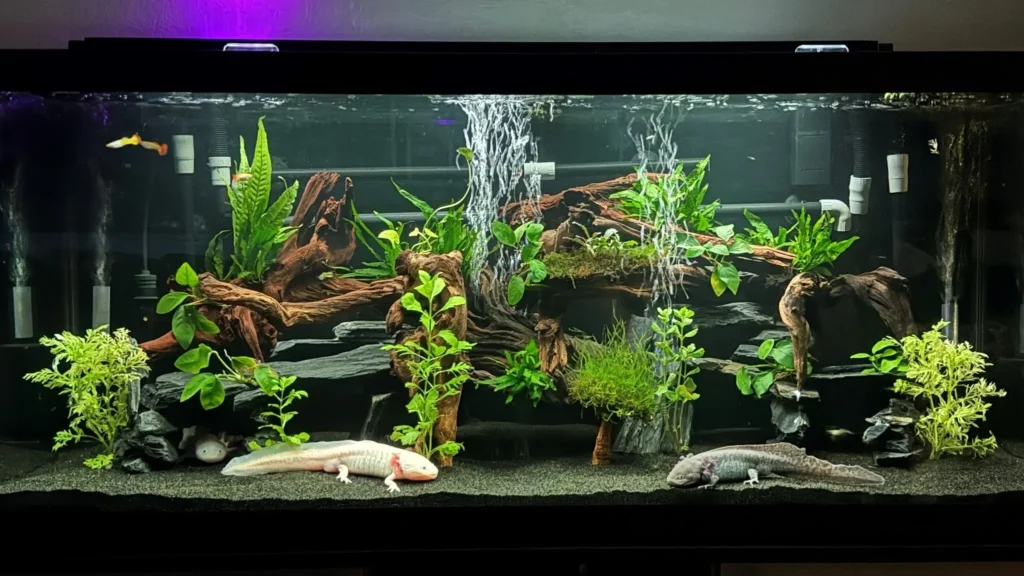
How to Set Up Your Axolotl Tank Substrate?
Axolotls require ample space to thrive. They love to swim in length but do not require much depth. An axolotl smaller than 6 inches can live well in a 20-gallon tank. However, if you have multiple axolotls in a single tank (which is not recommended, though), then a tank of 40 gallons or more is required.
1. Choose Your Safe Substrate
Choose a substrate from the discussed options as per your preferences. It could be sand, rock, tile, or large smooth stones. Purchase from trusted dealers for high-quality original products.
Calculate Substrate Quantity (if applicable): For sand or smooth stones, estimate the amount needed and prepare it according to the water tank’s specifications.
2. Thoroughly Rinse the Substrate
Almost all substrates need to be washed thoroughly to be germ-free and to avoid any issues later. Soak the sand in a container while continuously pouring water until the water becomes clear.
Let it settle for an hour, remove the top layer, and your sand is ready to use. For stones and tiles, smooth any rough or sharp edges with a tool and scrub off with hot, boiling water.
3. Prepare the Tank
Clean the tank and set it in its final location. Avoid high-flow areas, as it may stress the axolotl. Invest in a good quality filter. There are multiple options, but sponge filters are recommended due to their high efficiency.
4. Carefully Add the Substrate
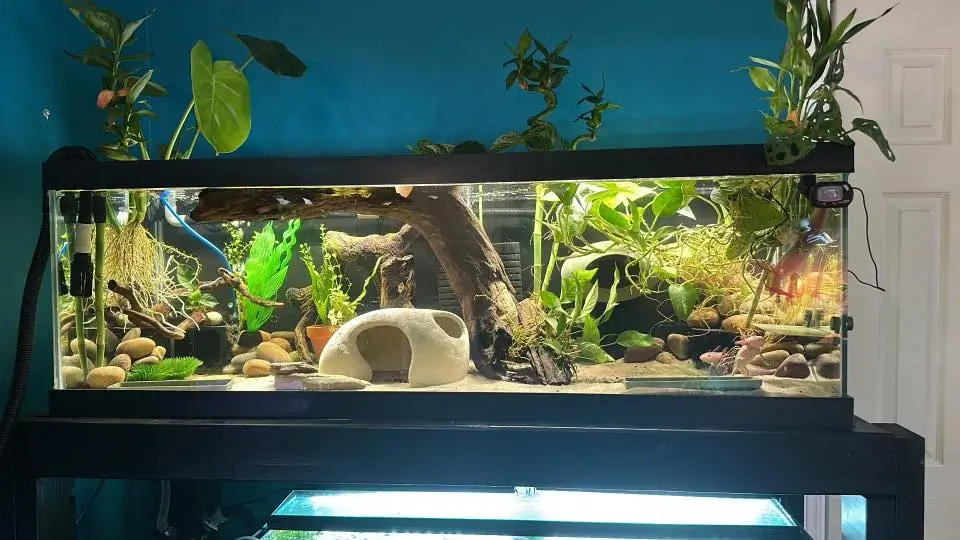
If you are using fine sand, gently add it with the cup. If you are using a different substrate, such as stones or rocks, arrange them or attach them with aquarium-safe glue. I recommend investing in high-quality decorative items, hides, and plants, as axolotls love to hide between them.
Do read some of my decorative element recommendations. You can use some plants like Pothos, Amazon Swords, Java fern, duckweed, Elodea, and anubias for the axolotl tank. It will give a more naturalistic aquascape.
5. Fill the Tank with Water (Slowly)
To minimize substrate disturbance and cloudiness in the tank, especially with sand, you can pour water after setting the substrate.
Cycle your tank until you achieve your desired parameters, and then introduce your axolotl into the tank!
Maintain a Clean and Healthy Substrate
General Maintenance:
Use a turkey baster to spot clean when you see waste or uneaten food particles. Do not let the live food remain in the water tank, as it may cause the axolotl to bite or become stressed.
Siphoning Techniques
To effectively clean the axolotl tank, use a siphon gently. Stir the substrate by hand or with a tool to loosen debris and waste. Submerge the siphon tube in the water near the debris and move it in a way that draws the debris into the suction end.
If you are using a gravel vacuum, use a smaller tube. To prevent excessive substrate being taken up by siphon, use your thumb to cover the opening of the tube while siphoning and then release the thumb to allow the waste to be sucked up. If you are using any other substrate tiles, stones, siphon around the corner and underneath them.
Frequency of Cleaning
Axolotls quickly pollute the water tank due to their high bioload. Generally, it is recommended to change the water weekly and partially to maintain water quality.
However, this depends on the size of your aquarium and its filtration system. Get a good test kit to monitor ammonia and nitrite levels, as their levels may spike in the axolotl tank.
Address Algae Growth
Algae growth is common in axolotl tanks, particularly when the tank receives natural light. Also, excessive nutrients or poor water quality can also promote the development of algae layers. Growing low-light plants and keeping the water tank in a dark location will help combat this issue.
Substrate Replacement (When Necessary)
Juvenile axolotls need no substrate; therefore, it’s better to keep them in bare bottom. However, when they reach the adult phase, they use a substrate to offer traction and prevent stress.
FAQs
What Is The Best Substrate For Axolotls?
In my opinion, and based on the experiences of other axolotl keepers, bare bottom is recommended for juveniles, and fine sand for adults. If you are not comfortable using fine sand due to its high maintenance, consider using slate tile, rock, or arrange them together for an aesthetically pleasing aquascape.
What Is The Best Flooring For An Axolotl Tank?
For an axolotl tank, fine sand or tile is the best flooring option. However, bare bottom is considered the safest for axolotl. For individuals who prefer a more aesthetic vibe, consider layering two substrates, such as slate tiles or fine sand, with smooth stones for a beautiful appearance.
Will Axolotls Eat Gravel?
Yes, anything that fits in the axolotl’s mouth, they will ingest it. Gravel particle size is 2 mm. That means axolotl can eat them, but cannot pass them. This will cause intestinal blockage and other health issues.
How Deep Should The Sand Be For Axolotls?
The sand bed in the water tank should not be deeper than it will cause air pockets. The recommended depth of sand is 3 cm. Even with a 3 cm layer, occasionally stir the sand to prevent the buildup of gases.
How Do I Know If My Axolotl Has Ingested Substrate?
If your axolotl refuses to eat for several days, there is a chance of impaction. Moreover, not passing waste for days, swollen abdomen, floating near the surface than usual, tilting to one side, or raising their tail are clear signs they have ingested substrate.
Also Read:
The Axolotl Diaries
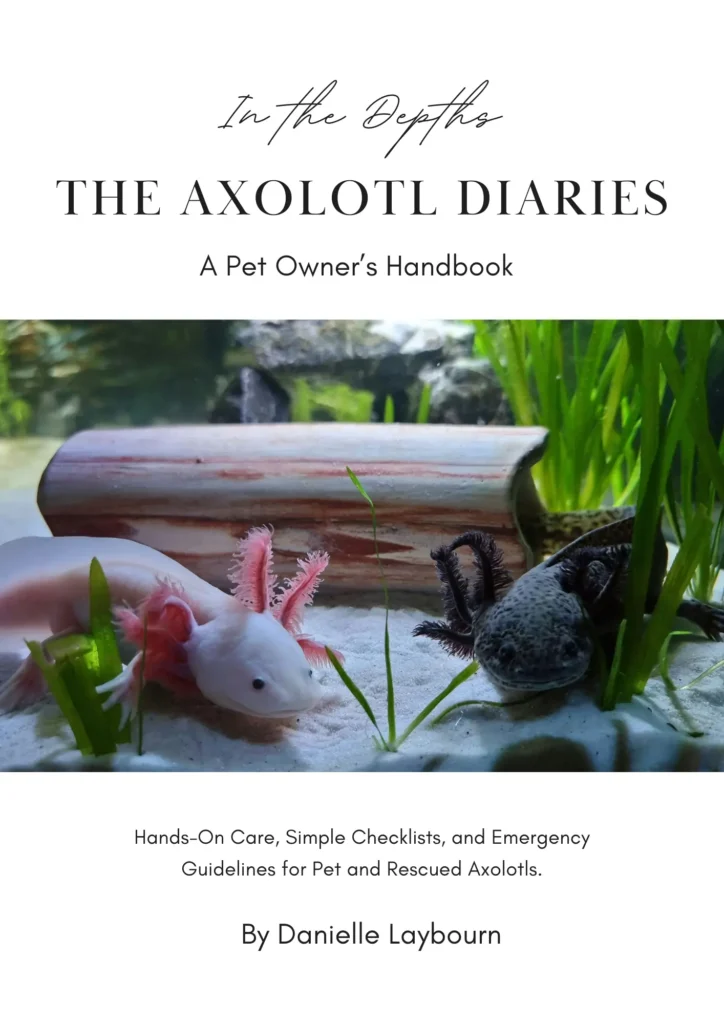
A clear, step-by-step handbook (50+ pages) about axolotl care that covers basics, safe tank requirements, cycling, feeding, common health issues, and more.
Rescue-informed and vet-aware. For anyone who wants to raise a healthy, happy axolotl.
Find everything in plain language, backed by real experience.
Grab printable cheatsheets, practical tips, and easy troubleshooting guide inside!
Price: $14.99
Final Thoughts
Select an appropriate substrate for the health and safety of axolotls. While fine sand offers a safe and natural environment, a bare bottom can ease the cleaning and maintenance of water tanks.
For an aesthetic aquascape, layer the slate tile with other substrates, but within careful parameters. Avoid using gravel or small ingestible particles to prevent impaction. Just prioritize the axolotl’s safety, and you’ll be good to go!
If you’d like to add anything, do share in the comments below. I’d love to discuss!
Disclosure: This post contains affiliate links. As an Amazon Associate, I earn from qualifying purchases. It means that if you click on an Amazon link on this site and make a purchase, I may earn a small commission at no extra cost to you. Thank you for your support!